

Automated scanning against an application is useful. It's a faster and less labor-intensive way to find certain types of flaws. It's also terrible at identifying other types of flaws, because it doesn't understand context and it doesn't understand your business. In casual conversation, the phrase I frequently use is "Toasters suck at context." Where an automated scan will tend to succeed is the purely technical flaws that are plainly observable with the correct prompts. Injection flaws often fall into this category, as do cookie flags or an improperly anchored CORS policy.
Using Replacer to Insert an Authorization Header
First, use the Request Editor to replay the login request and get a fresh Bearer token from the auth provider. Alternatively, if it's more complex, like a lot of SSO flows are, it may be easier to just use the browser to perform the login and get the Bearer token from the history.
-2.webp)
Copy the Bearer token to your clipboard, as you will want to paste it momentarily. Next, use ZAP's Tools menu to open Replacer Options.
This will open the dialog for managing Replacer's options. Use the Add button to add a new rule.
-2.webp)
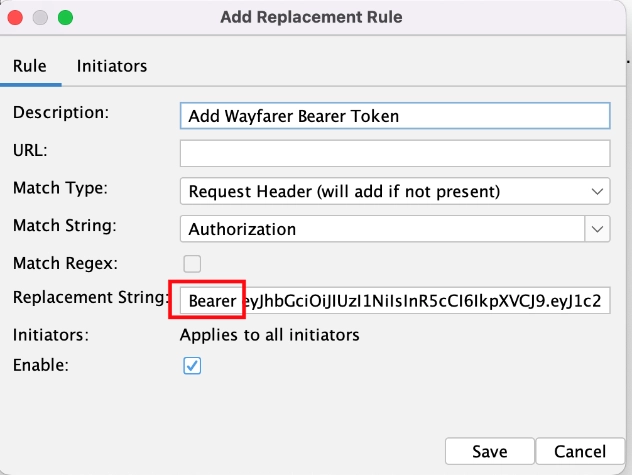
Fill in the fields on the rule, including setting the Match String to Authorization, and pasting your Bearer token into the Replacement String field. Note that most applications expect the Bearer token to be prefixed with the word Bearer followed by a space, which should be included in your replacement string if needed.
Make sure the Enable checkbox is checked, then click the Initiators tab. Here you can uncheck Apply to all HTTP(S) messages and then check Active Scanner messages.
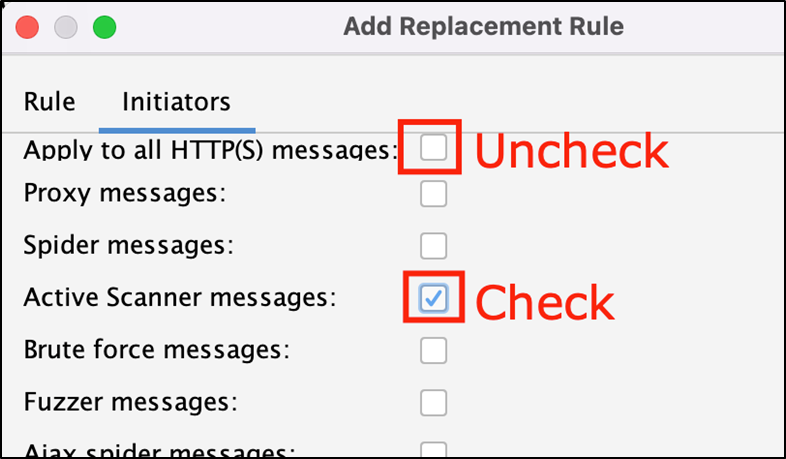
This will keep ZAP from replacing your Bearer token in other tools or in regular proxied traffic. Click Save and you're done. Note that this doesn't handle any automatic refreshing, so if your token becomes invalid during the scan, it will impact your results.
Running ZAP's Automated Scanner on Demand
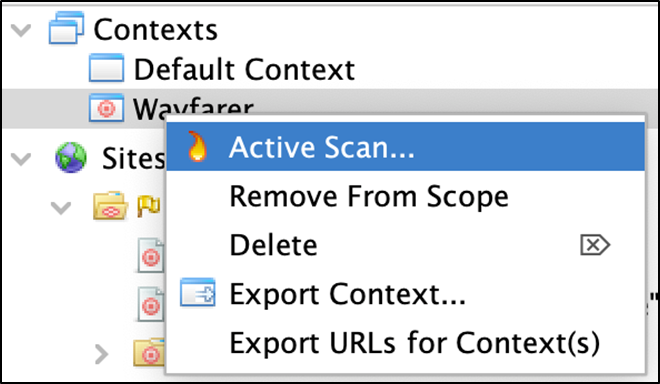
Right-click your context and choose Active Scan from the context menu.
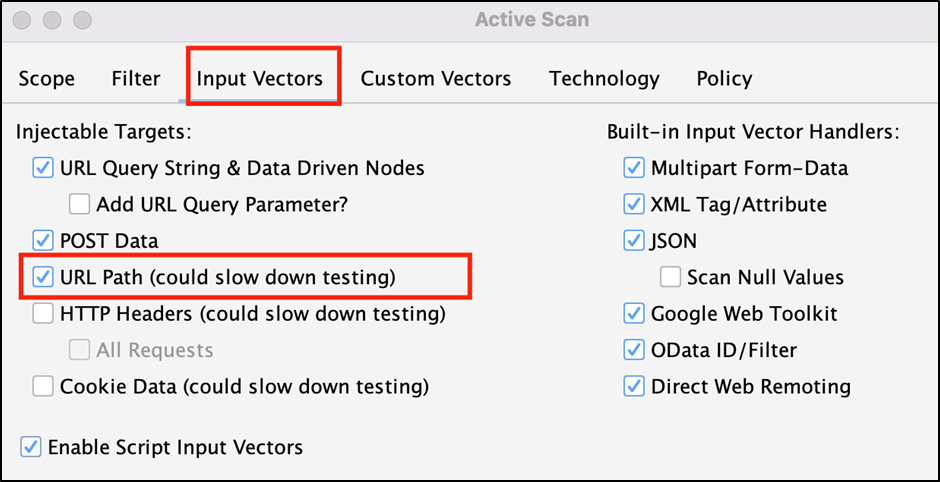
The only setting I changed from the defaults was checking the URL Path from the Input Vectors.
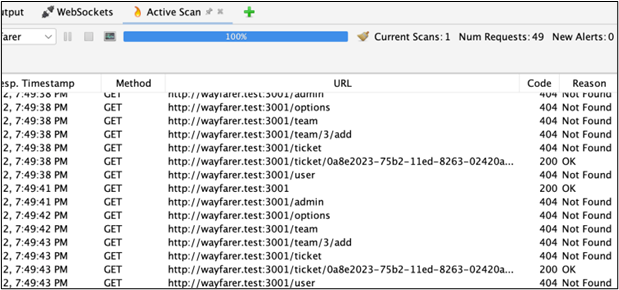
Click Start Scan, and you will see a bunch of activity in the Active Scan tab, which will open in the bottom pane of the main ZAP window.
The hope is that this will find issues and create Alerts in ZAP, alongside the passively detected alerts. I found that, out-of-the-box, it struggled with a lot of the more modern applications I tried it on. However, I ran it against Dojo Basic, which is an older target in the style of a legacy PHP app, but would also be reasonably representative of ASP.Net webforms (.aspx) apps using regular form-based auth. Against this older application architecture, the scanner performed brilliantly with a default configuration.
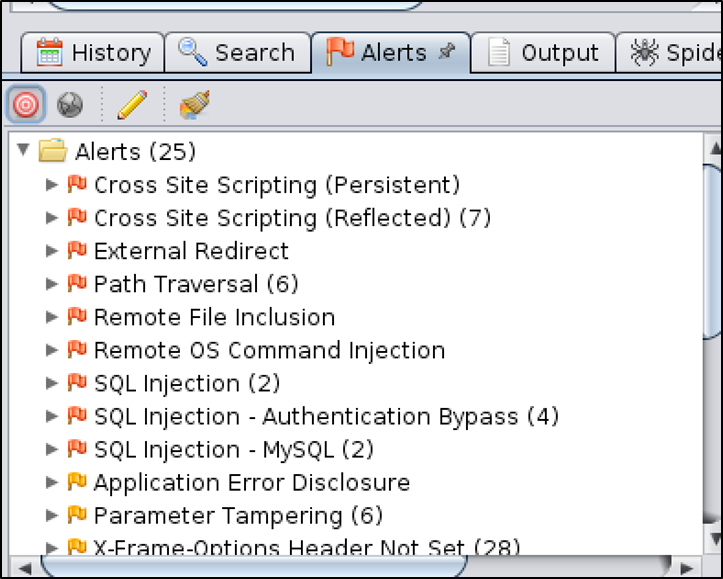
As you can see in the picture above, there were lots of alerts including for several different types of injection. I didn't dive too deeply into them, but I've used this application for teaching purposes, and I think ZAP may have found every flaw that I normally use as a class example, plus a few more.
ATTACK Mode
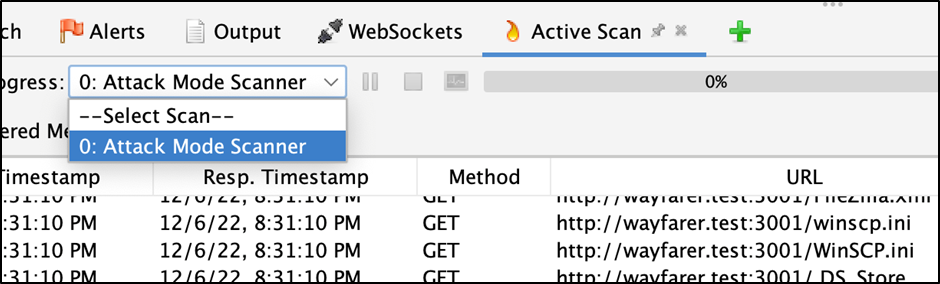
Another option, that I felt yielded better results for the newer apps, was to use the mode selector on the left side of ZAP's main toolbar to select ATTACK mode.
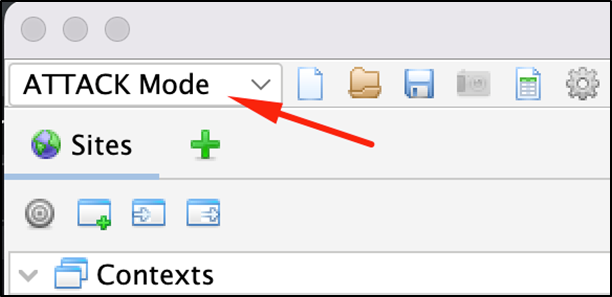
ATTACK mode will actively scan nodes as they're discovered, as long as they're within an in-scope context. Therefore, you can toggle on ATTACK Mode and manually map the application, and it will scan that surface. Its activity also appears on the Active Scan tab.
In Summary
I've used a few different application security scanners before. I've used Burp's Active Scan, Nikto, and Burp Suite Enterprise. I've also worked with more general security scanners like Nessus and Qualys. So I think my experience gives me a reasonable basis for comparison. I used ZAP's active scanner on a few different vulnerable applications, and found that it worked better on some than others, and it often struggled on React or Angular apps that used a lot of dynamically-rendered UI. Mapping the application thoroughly before running the Active Scan seemed to help, but not very much. The vast majority of the time it generated extra traffic with error responses and didn't find anything to alert on. One of the oddest discoveries was that the scanning policy appeared to include specific checks for XSS, but even when I tested a field that I know has a wide-open DOM-based XSS flaw, ZAP's scanner didn't detect it.
However, especially when in ATTACK mode, I saw it performing a number of worthwhile checks, even when they weren't successful in discovering actual flaws. For example, it attempted to discover configuration files and git repositories in the hosted path. The drawback of this was that it was noisy. I would probably make use of the active scanning in this way in the future, but I would want to use a separate ZAP session for the ATTACK mode mapping, so that its activity wasn't intermingled with my manual testing.
Automated scanners miss what matters most.
Our penetration testers combine automated tools with deep manual testing to find the flaws that scanners can't. Reach out to discuss a web application security assessment.
Talk to Our Team