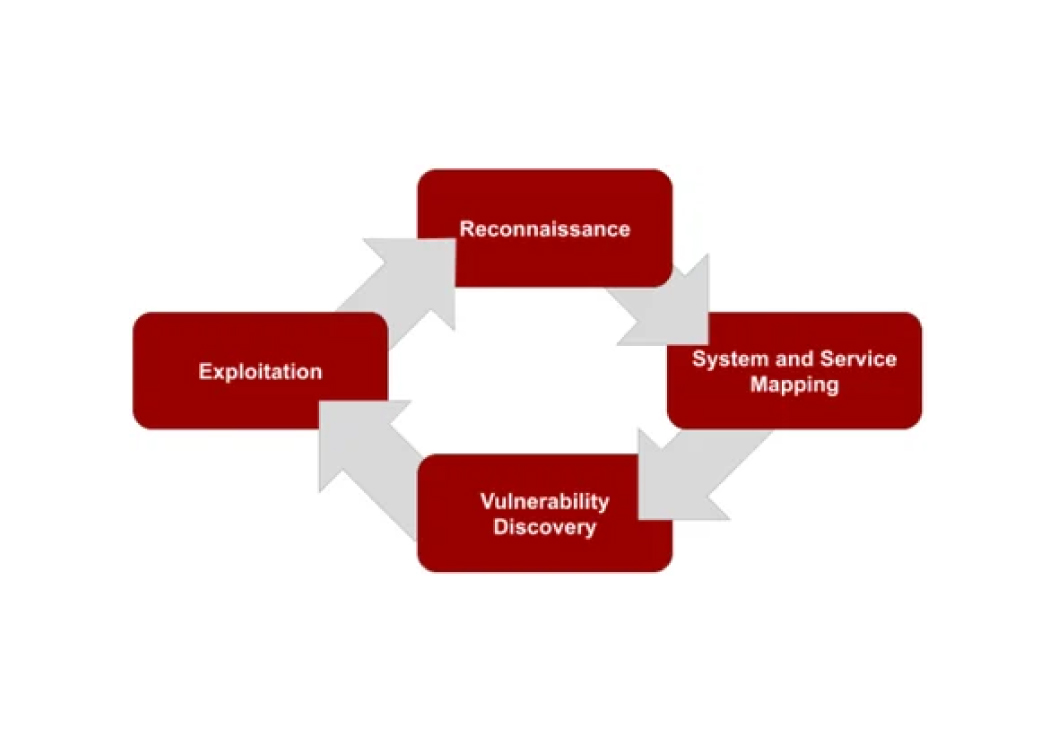
A hardware security assessment is a review of a physical device and a very common task when reviewing an embedded device, but is quite unique per device. To break it down simply, a hardware assessment consists of the following tasks:
- Review device externals
- Tear down of the device
- PCB inventory and mapping
- Review of datasheets
- Attempting to interface with headers
- Other attacks
Review Device Externals
Following the rule of doing the simplest things first, we conduct a visual inspection of the exterior of the device while taking inventory of what is present. This can include ports (USB, RJ45, RS232, etc), buttons, receivers, but also stickers and information such as model numbers, revisions, FCC ID, MAC Addresses, serial numbers. This is a great time as well to review the package, accessories, and manuals that are included for information.
Tear Down of the Device
At this stage, a tester would attempt to perform a tear down of the device to evaluate ease of teardown in the real world. On one hand, a simple tear down makes the device easy to service and repair. On the other hand, it also makes real world hardware attacks simpler to execute which can be factored into the risk/likelihood of an attack if the attack requires access to the device's internals.
PCB Inventory and Mapping
Once the tear down is complete, the next step is to examine the internals of the device. The printed circuit board (PCB) will be closely examined with a focus on collecting inventory of the integrated circuit (IC) chips on the board. These chips provide a wealth of information for testing as the chip is there to perform a certain function, which can hint at functionality and possible attack vectors. Collecting the inventory also provides more information if the chips used have publicly available datasheets for download, which is often the case.
Time will also be spent finding and attempting to map pin headers, populated or unpopulated, as well as test points. These pin headers and test points often map back to pins on the IC chips on the PCB. That information could provide possible attack surfaces that can be explored later.
Review of Datasheets
With all the information gathered so far, the next step is to conduct research. If an FCC ID was found, it can be looked up to see if this can disclose information about the radio systems of a device, such as frequency and modulation used. With the inventory of the IC chips collected from the previous step, datasheets that are public can be downloaded and reviewed. These datasheets explain what the chip is, specifications of the chip, pinouts, how it works, how to use it from an engineering standpoint, possible reference designs, and sometimes explain interesting error condition behaviors and debugging functionality that an attacker could leverage.
Attempting to Interface with Headers
If test points and headers are found on the PCB, attempts should be made to determine why those are there. Sometimes they are simply test points for troubleshooting repairs or QA, but oftentimes they can be debug or programming interfaces. By using the mapping from earlier it might be possible to determine what these are by the IC chip pinouts they connect to. If not, other methods will be used to enumerate what the headers could possibly be, such as a JTAG or UART interface.
Other Attacks
At this point a lot of information has been gathered and the device is reviewed for its unique nature. Unique devices can lead to unique attacks, specific to the device's design, hardware, and purpose. For example, some microcontrollers can failover to a debug mode in the event that it could not read the firmware image from flash memory at boot. This has been exploited in the real world to get firmware from a device by shorting the ball grid array (BGA) under the memory chip with a piece of tin foil at boot to cause the read failure. After the read failure occurred, the tin foil could be removed once the debug mode was entered, where raw memory reads were available as a command in the debug mode.
Another example would be if the device is easy to execute a persistent hardware backdoor implant on. Such an example would be a device with a UART pinout that contains a shell to the underlying OS that does not require authentication or the firmware contains a weak static password across the entire product line. If the device is simple to tear down, an attacker could implant a small IC to the UART pinout that executes shell commands and opens up a backdoor on the device as long as the implant is in place.
There are also possible avenues for remote signal attacks. If the device contains sensors for remote signals, such as radio or infrared, is there potential for abuse? Either way, this stage is where the due diligence of the previous steps pays off and determines whether or not there are any viable hardware based attacks that need to be considered in the embedded system's design.
Need a hardware security assessment for your embedded device?
Our team has deep experience with IoT and embedded device testing, from PCB analysis and UART/JTAG enumeration to firmware extraction and custom attack development. Reach out to discuss your device.
Talk to Our Team