

Update:
As of March 2021, I'd recommend using Android Virtual Devices over Chromebooks. Chromebooks still work (in many cases) but the AVDs are much easier to build and use. Jason wrote a great blog on how to set them up and it can be found here: How to Configure Android Virtual Devices for Mobile Pentest. If you are still interested in using a Chromebook, continue reading.
Part of testing Android mobile applications is proxying traffic, just like other web applications. However, since Android Nougat (back in 2016), user or admin-added CAs are no longer trusted for secure connections. Unless the application was written to trust these CAs, we have no way of viewing the HTTPS traffic being passed between the client and servers. Your only two options are to either buy a device running an older version of Android OS or to root your existing device. Rooting a device can cause all sorts of issues and depending on your system may require a bit of effort and installation of other tools and utilities. This is probably overkill just for adding a certificate. Luckily, there is another option: Chromebooks.
Google has been promoting the ability to install apps from the Google Play store since the middle of 2016. Now, to proxy the traffic from an Android application, you will most likely still need to root the Android subsystem. This is not always the case but, even if you do, rooting (and un-rooting) a Chromebook is remarkably easy. Not to mention, you get a real keyboard and large screen! However, before you run out and buy a Chromebook to use for testing, you should be aware of a few caveats:
- Not all Chromebooks can run Android apps. The full list of Chromebooks that support the Android subsystem can be found at chromium.org.
- Not all Android apps install on a Chromebook
- Rooting the Android subsystem will wipe all existing user data on the Chromebook
- Using Developer Mode will stop the Chromebook from installing most updates and prevent some applications from installing
Let's walk through the process of getting the Burp CA cert added as a System CA on a Chromebook's Android subsystem. The whole process takes about an hour (depending on the speed of your Chromebook). Before we start making any changes, be sure to copy any data you want to keep off of the Chromebook. This process will wipe the device.
Enable Developer Mode
The method to get into development mode may be slightly different than what I list, depending on the Chromebook you are using. I'm using an Asus R11. Please refer to Step 3 from the "Recover Your Chromebook" web page for methods for other devices.
- Press ESC, Refresh, and the power button at the same time to load Recovery Mode.
- When the Recovery Mode screen loads, press Ctrl+D and then Enter.
- The system will reboot and you will see the OS Verification warning screen. Press Ctrl+D again. From this point forward, until you revert back to a verified OS, you will have to press Ctrl+D at every boot up.
- Wait for about 15 minutes while the Chromebook prepares the Developer mode.
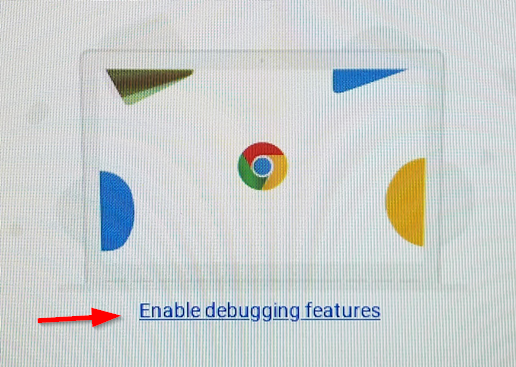
Enable Debugging Features
This does not need to be done, but I highly recommend it so you can get a full bash terminal session through crosh (the Chrome OS shell). This must be done on the first boot up after the Chromebook finishes installing Developer mode.
The Chromebook will reboot and then prompt you for a root password.
Set sudo Password for the Dev Console in crosh
At this point, sign in to the Chromebook as normal. Let the system create your profile and load the Google Play store. Depending on your Google and Chrome settings, you may need to wait a bit as applications are automatically installed.
- Press Ctrl+Alt+F2 (or the Forward button) to get to the Developer Console.
- Login with root and the password you previously set up.
- Type
chromeos-setdevpasswdand press Enter. You will be prompted for the sudo password. - Type
logoutand press Enter. - Press Ctrl+Alt+F1 (or the Back button) to go back to the main screen.
Disable OS Checks and Hardening
Before we can actually root the Chromebook, we need to disable some security settings.
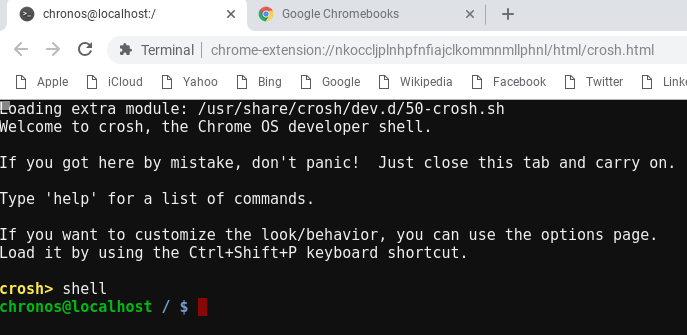
- Press Ctrl+Alt+t to open the crosh window.
- Type
shelland press Enter to load a full shell.
- Type
sudo crossystem dev_boot_signed_only=0and press Enter. - Type
sudo /usr/libexec/debugd/helpers/dev_features_rootfs_verificationand press Enter. - Reboot the Chromebook:
sudo reboot - Once the system comes back, open another terminal window (Ctrl+Alt+t then
shell). - Run the following command:
sudo /usr/share/vboot/bin/make_dev_ssd.sh --remove_rootfs_verification --partitions $(( $(rootdev -s | sed -r 's/.*(.)$/\1/') - 1))
- Reboot the Chromebook:
sudo reboot
"Root" the Android Subsystem
Up until this point, we've just been prepping the system. Running the following command will copy my modified script from GitHub and create an editable partition we can add items to (such as new CA certs).
curl -Ls https://gist.githubusercontent.com/neKuehn/f8eb14b226d42cda73ce173c0cdb2970/raw/5ae555f6156467741e8efbb40bc81eecb045a7e8/RootChromebookAndroid.sh | sudo sh
This script was modified from work that nolirium created (https://nolirium.blogspot.com/2016/12/android-on-chrome-os-rooting-shell.html). My version does not add in the extra tools (BusyBox, etc) included in the original.
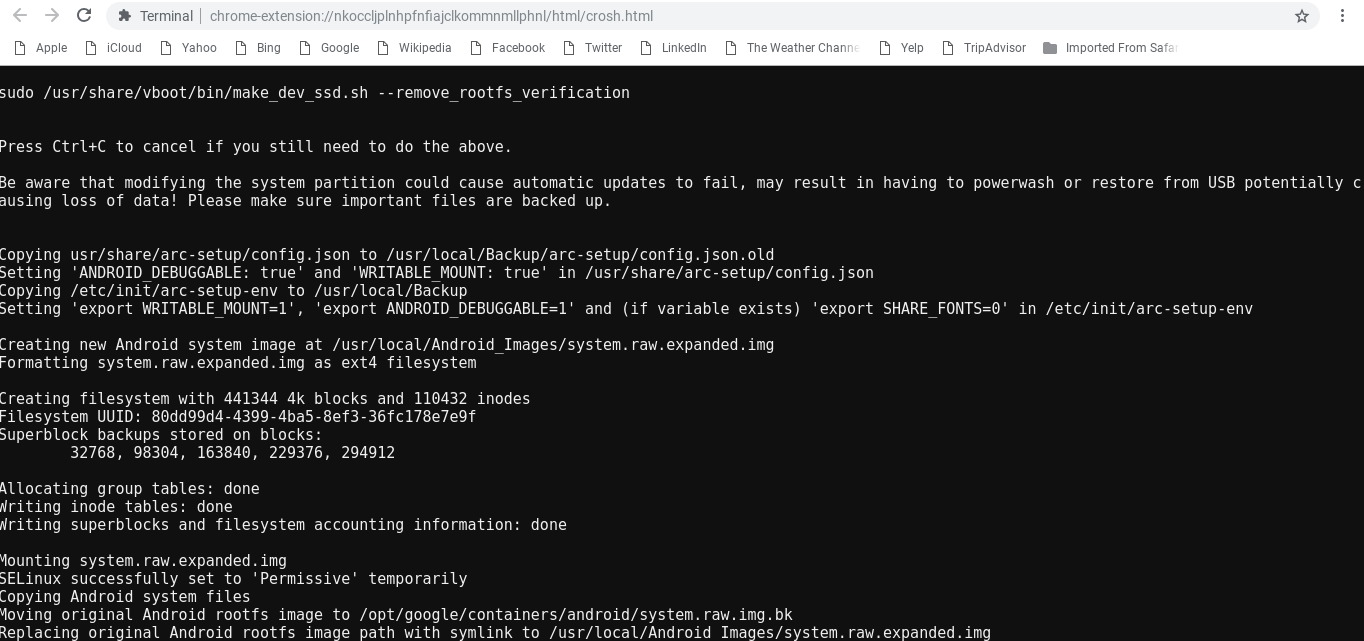
Once the script finishes (as shown above), reboot once again. Once the Chromebook comes back online, we can install the Burp cert.
Configuring Android Subsystem to Use the Burp Certificate
We're almost done but this portion takes multiple steps. This is mainly because the Android subsystem wants the cert to be in a different format and named a specific way.
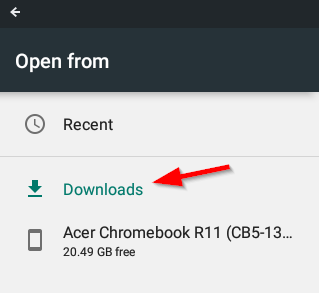
- Download the certificate from Burp and copy to the Chromebook. If you copy the cert to the Downloads directory on the Chromebook, the path (in a shell window) is
/home/user/<randomstring>/Downloads. All of my following examples assume you downloaded the certificate to the Downloads directory. - Convert the cert to one used by Android (this can be done on a Linux system or on the Chromebook itself in a terminal window):
openssl x509 -inform der -in cacert.der -out burp.pem
- Import the burp.pem file as an Authority in Chrome. This is done in the GUI.
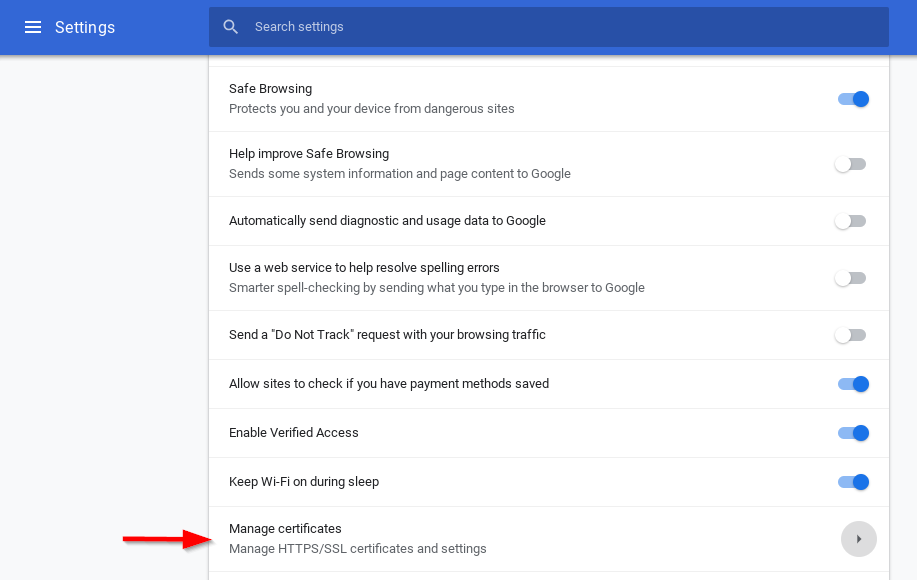
- Open Settings
- Expand "Advanced"
- Click on Manage Certificates
- Select the Authorities tab
- Click on Import
- Find the burp.pem file and import it. Select all 3 check boxes for the Trust settings and click on OK.
- Validate that the org-PortSwigger CA is now listed (as shown below).

- The CA should now also be listed as an Android User certificate.
- Open Settings
- Click on the Google Play Store settings > Manage Android preferences

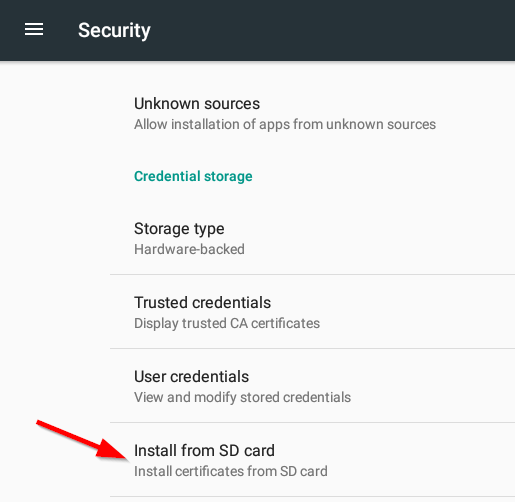
- Click on Security
- Click on Trusted credentials
- Click on the User tab
- Validate the certificate is there as well.
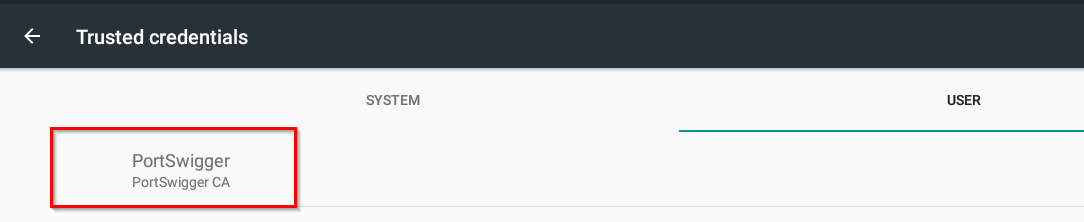
If the cert is not listed, you can import the certificate by going back to the Security menu, selecting Install from SD card, and selecting the burp.pem file from Downloads.
- Find the name of the certificate that was added to Android. Open a shell (Ctrl+Alt+t and then
shell) and run:
sudo ls /opt/google/containers/android/rootfs/android-data/data/misc/user/0/cacerts-added
Take note of the file name. In my case, it is 9a5ba575.0. We will be using this name for our new System CA certificate file we are about to create.
- Create the properly formatted certificate file (this can be done on a Linux server or on the Chromebook itself, wherever you created the burp.pem file):
cat burp.pem > 9a5ba575.0
- Append the cert text to the file:
openssl x509 -inform PEM -text -in burp.pem -out /dev/null >> 9a5ba575.0
- Copy our new cert file to the Android system:
cp /home/user/<randomstring>/Downloads/9a5ba575.0 /opt/google/containers/android/rootfs/root/system/etc/security/cacerts/
- Reboot.
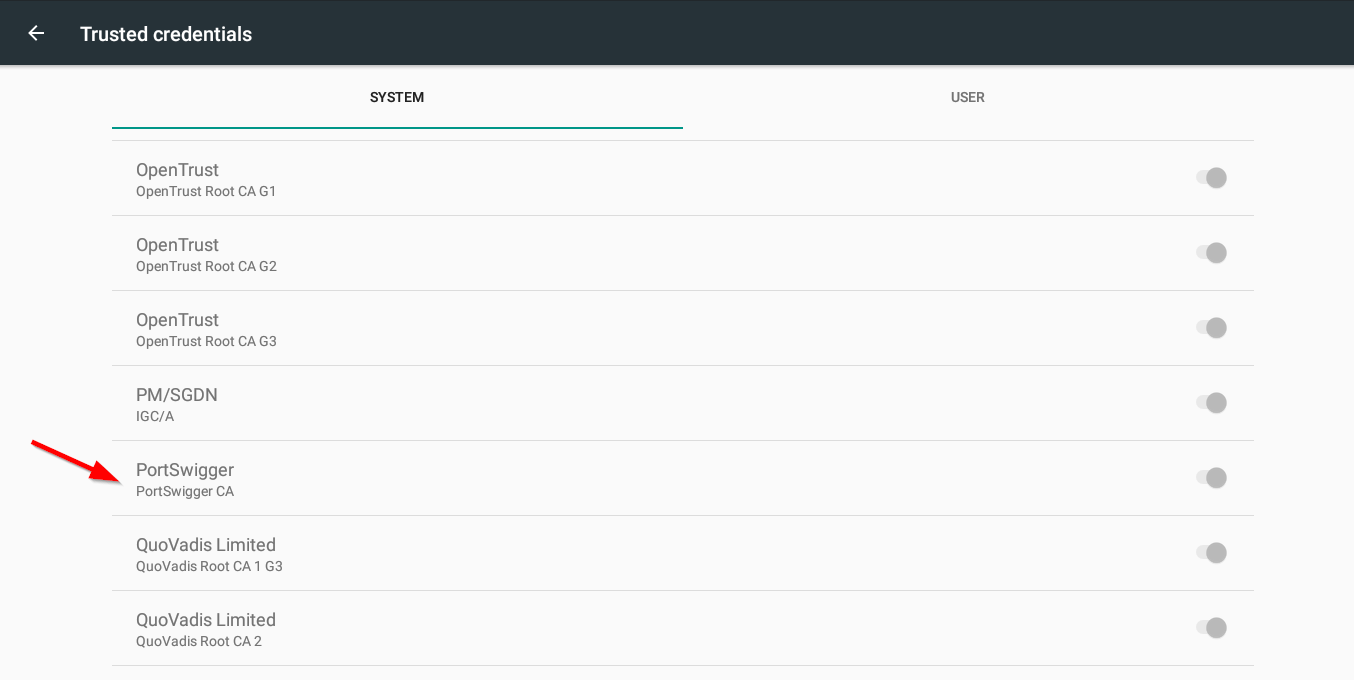
- Validate that the PortSwigger CA is now listed in the Trusted System credentials: Open Settings > Google Play Store settings > Manage Android preferences > Security > Trusted credentials.
You should now be able to proxy your traffic through Burp and intercept HTTPS traffic! Often, when I do this, I send the data to my other laptop. This is so I can save all of the proxy information (including required exclusions for Android/Google) to a dedicated WiFi connection. This is the current list of exclusions, but it is always growing:
- accounts.google.com
- accounts.google.us
- accounts.gstatic.com
- accounts.youtube.com
- alt*.gstatic.com
- clients1.google.com
- clients2.google.com
- clients3.google.com
- clients4.google.com
- commondatastorage.googleapis.com
- cros-omahaproxy.appspot.com
- dl.google.com
- dl-ssl.google.com
- gweb-gettingstartedguide.appspot.com
- m.google.com
- omahaproxy.appspot.com
- pack.google.com
- policies.google.com
- safebrowsing-cache.google.com
- safebrowsing.google.com
- ssl.gstatic.com
- storage.googleapis.com
- tools.google.com
- www.googleapis.com
- www.gstatic.com
Returning to Normal
Reverting back to the normal state is very easy. First off, copy off the custom cert files (as they will be named the same thing if you choose to do this process again later). Then perform the following steps:
- Run this command to put back the default Android image:
sudo mv /opt/google/containers/android/system.raw.img.bk /opt/google/containers/android/system.raw.img
- Reboot the Chromebook.
- When the system boots to the OS Verification screen, instead of pressing Ctrl+D, press the spacebar. This will wipe the Chromebook and put it back to the default configuration.
If you run into extreme issues, you should be able to powerwash the device. At worst, you will have to reinstall the OS, which takes about an hour but is much easier on the Chromebook than other Android systems. The full process to recover a Chromebook can be found at support.google.com.
Need a mobile app pentest done right?
Certificate pinning, traffic interception, environment configuration: our team handles all of it so you do not have to. If you have an Android or iOS app that needs a thorough security assessment, reach out.
Talk to Our Team